How to Use Vaisala Data Loggers and Fluke Multimeters in an Environmental Emergency
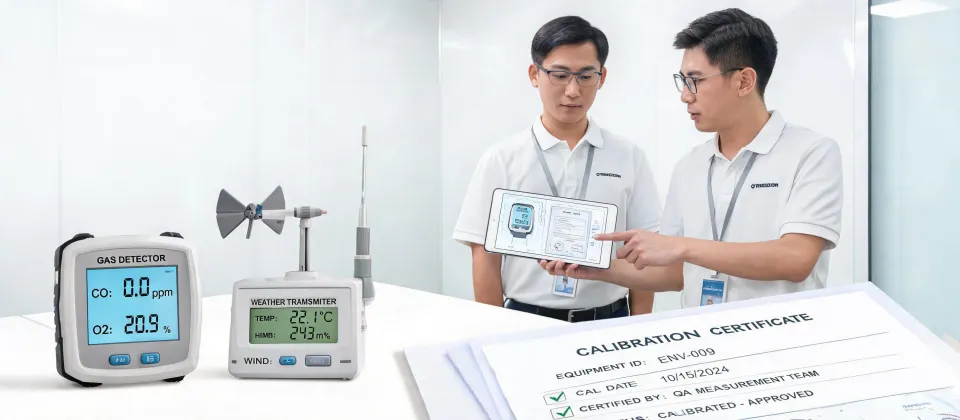
When you're on the ground and an environmental sensor is screaming, there's no time for theory. You need a plan. I've spent the last 12 years responding to emergency calls at wastewater plants, cleanrooms, and remote weather stations. The two instruments that save my skin every time are a Vaisala data logger for tracking conditions and a Fluke multimeter for checking the electrical side. This is the exact checklist I run through when the call comes in at 2 AM.
Step 1: Trust But Verify Your Vaisala Data Logger
I know you want to start measuring immediately, but don't skip the basics. A data logger with a flat battery or corrupted memory is worse than no data, because it gives you false confidence. Here's my 30-second pre-check:
- Check the battery level. If it's under 20%, swap it before you go out.
- Make sure the sensor is within its calibration interval. Look for the little sticker or the digital certificate.
- Set the logging interval based on the emergency. If it's a fast-moving event, you might need 10-second intervals, not 10-minute.
- If you have a second logger, run them side by side for a minute. They should agree within spec.
I can't tell you how many times a 'bad' sensor turned out to be a logger that had been sitting in a truck for a month. The Vaisala units are solid, but they're not magic.
Step 2: Use a Fluke 177 Multimeter to Verify Power
This is the step people skip, and it costs hours of wasted troubleshooting. Most sensor errors are actually power errors. A Vaisala transmitter needs a stable supply voltage, usually 18-30 VDC, depending on the model.
Here's how I do it: set the Fluke 177 to DC volts, probe the positive and negative terminals on the transmitter, and read the voltage. If it's below the spec, check the power supply, the wiring, and any connectors in between.
In March 2024, I got called to a pharmaceutical warehouse where the humidity data was spiking randomly. I checked the Vaisala logger first—data looked fine. Then I put the 177 on the transmitter terminal: 14.9 volts. That's way under spec. A loose terminal on a junction box had been causing a voltage drop for days. Tightened it, problem gone. If I'd started replacing sensors, I'd have been there all week.
I didn't always do this. A few years back, I replaced two Vaisala transmitters before a senior tech pointed out a loose connection. That mistake cost us both time and money.
How to Use a Fluke Multimeter for 4-20 mA Loop Testing
The 177 also handles loop testing like a champ, which is essential for most process sensors.
- Power down the loop.
- Switch the meter to mA mode.
- Break the wire at the receiver end, then connect the meter in series.
- Re-energize the loop and read the current.
If your Vaisala sensor is supposed to be reading 50% RH, the loop should show about 12 mA (4 mA for 0%, 20 mA for 100%). If it doesn't, you've isolated the sensor as the issue. This method has saved me from condemning perfectly good sensors.
Step 3: Grab the 373 Clamp Meter for the Fast Check
The Fluke 373 clamp meter is my go-to when I need current readings without breaking the circuit. Clamp it around a live wire and you get a real-time current draw. In an emergency, that's a huge advantage.
Why does this matter for a Vaisala data logger installation? Because a single failing pump or heater can drag down the whole electrical panel, causing all sorts of signal errors. By checking the load on each circuit, you can quickly isolate a device that's drawing way more than its nameplate rating.
Just remember to select the right range and place the clamp around only one conductor. I've watched a few techs clamp around the whole cable and get zero, which then starts a wild goose chase. Put another way: clamp a single wire, not the whole bundle.
Step 4: Cross-Check the Data
Once you've verified power and signal, compare the environmental readings from the Vaisala logger against the electrical readings from the meter. This is where the problem usually reveals itself.
For example, if the logger says the room is 23°C, but the loop current tells you the sensor is outputting a value equivalent to 30°C, you've got a sensor that's drifted or a wiring issue that's causing extra resistance. I generally trust a verified loop current over a field display, because displays can lie.
Step 5: Document Everything and Then Decide
In an emergency, documentation feels like paperwork. But trust me, you'll want it. Take a photo of every meter reading. Use your phone to shoot the clamp meter display, the multimeter reading, and the Vaisala logger screen. Note the time and date on a slip of paper in the photo.
This isn't just to cover your ass. When you're on the phone with the client or the service manager, you'll be asked 'how sure are you?' A timestamped photo answers that a thousand times better than your memory.
Common Mistakes to Avoid
- Forgetting to switch the multimeter from AC to DC. I need to be honest: I did this in 2019, chasing a nonexistent AC offset.
- Using a clamp meter on a bare wire or a panel with exposed live parts. The 373 is rated, but only if you keep your fingers behind the barrier.
- Not letting the data logger stabilize after powering it on. It needs a few seconds to boot and settle.
- Ignoring the temperature inside the junction box. Sensors can be in a hot box that's 15 degrees above ambient, and the electronics will drift.
A bad measurement costs more than no measurement. It sends you chasing the wrong problem.
When This Checklist Isn't Enough
Let me be clear: this list is for field troubleshooting, not for forensic or regulatory evidence. If you're collecting data for a compliance report, you need a calibration lab with ISO-accredited standards and a documented traceability chain. This checklist will get you operational fast, but it won't replace a proper audit.
Also, if you're working in a potentially explosive atmosphere, the Fluke 177 and 373 are not rated for that. You need intrinsically safe equipment, and the Vaisala loggers you use should also have their own hazardous-area certifications. So, yes, my checklist is for the 95% of situations where you're working in a safe environment. For the other 5%, call in a specialist.
As of early 2025, this approach hasn't changed. Vaisala updates firmware occasionally, but the electrical principles are the same. Verify your equipment's current specs before relying on them.

Marcus Feld
Marcus Feld is an electrical test and measurement analyst specializing in multimeters, oscilloscopes, clamp meters, insulation testers, spectrum analyzers, and data loggers. He applies IEC 61010-2-030 and IEC 61010-031 concepts while examining measurement category, bandwidth, true-RMS response, input loading, and stated uncertainty. His work helps maintenance engineers and test teams choose safe instruments with performance suited to the signals and environments they actually measure.